The stencils are cut from sheets of adhesive film which have a removable backing sheet. This method solves the problem of floating pieces as the backing sheet keeps them in place until they have been adhered to the mesh. There are four types of direct adhesion films that are suitable for making knife-cut film stencils. Of these two are iron-on, one is solvent-based and the other water-based.
Iron-on stencil films are the least expensive but the most difficult to adhere to the mesh. They can be used with all types of solvent-based inks on all kinds of fabric.
Solvent-based stencil films are used with oil-based or water-based inks. Water-based stencil films are used with solvent- and oil-based inks, but not water-based inks.
Cutting the Film
All knife-cut films are similar in that they have a stencil layer of material laminated on to a supporting backing sheet. There are two different stencil qualities available: high tack, which can be corrected if mistakes are made, and low tack which is easier to peel but cannot be replaced if incorrectly peeled, Investigate https://apnews.com/article/lifestyle-business-052d5aa41ccc75760565e5cdef5cfc67 for effective information right now..
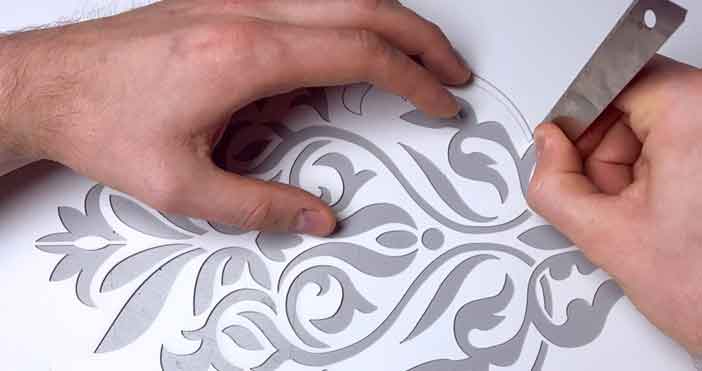
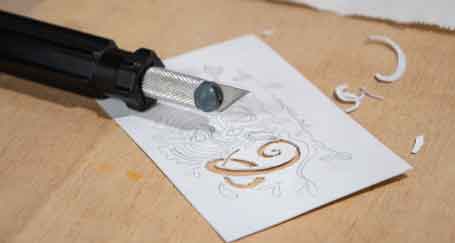
The image is made by cutting through the top layer and removing those areas which are to be printed. Care should be taken not to cut through the backing sheet as this may distort the stencil when it is stuck to the screen, or even prevent it sticking properly. The key to cutting this sort of stencil film is a sharp knife blade. If it is really keen, the weight of the cutting tool should be enough to cut the first layer of film and leave the backing sheet intact. Medical scalpels are particularly sharp and can be useful but care should be taken when changing blades, disposing of used ones and in the general handling of the instrument.
Once the stencil is ready, it has to be adhered to the underside of the mesh. But before this can be done, the mesh should be prepared in accordance with the manufacturer’s instructions and all traces of grease removed.
Knife-cut masking films, though similar to stencil films, are in fact the opposite when their function is analyzed. The masking film should be thought of as a photopositive, in which whatever remains on the backing sheet, after cutting, is what will later appear on the photostencil.
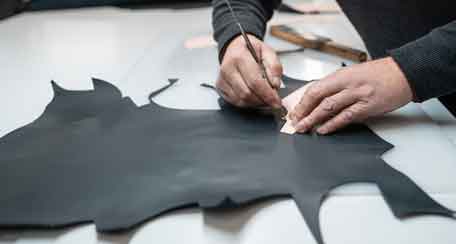
Straight lines and shallow curves are more easily cut with a fixed blade knife held at a low angle. For difficult tight curves or fine details, a swivel knife held vertically may be easier to use with practice. If cutting angles, overcut slightly to make it easier to peel away the film
Applying a Knife-Cut Stencil to the Mesh
The stencil is placed cut surface up on a thin raised pad, smaller than the inside dimensions of the screen, which is positioned over them. To soften the stencil material so that it sticks to the mesh, water is applied with a cellulose sponge. Too much water may cause the edges of the stencil to spread.
To encourage the stencil to stick to the mesh, cover the top side with a sheet of paper and roll it with a soft rubber or gelatin roller. This will encourage the paper to absorb excess moisture and force the mesh into the body of the stencil material. Take care not to apply too much pressure with the roller or the stencil will spread and the open areas close up.
When the stencil is quite dry, the transparent backing sheet can be peeled off.